Installing a kitchen sink strainer can seem like a daunting task, but it’s actually quite easy if you have the right tools and know what to do! So here are a few easy fixes to make your kitchen sink look — and work — great.
Remove the Old Strainer: Then, remove any old strainer or garbage from your sink drain. If necessary, use the pliers or wrench to loosen and remove the old strainer.
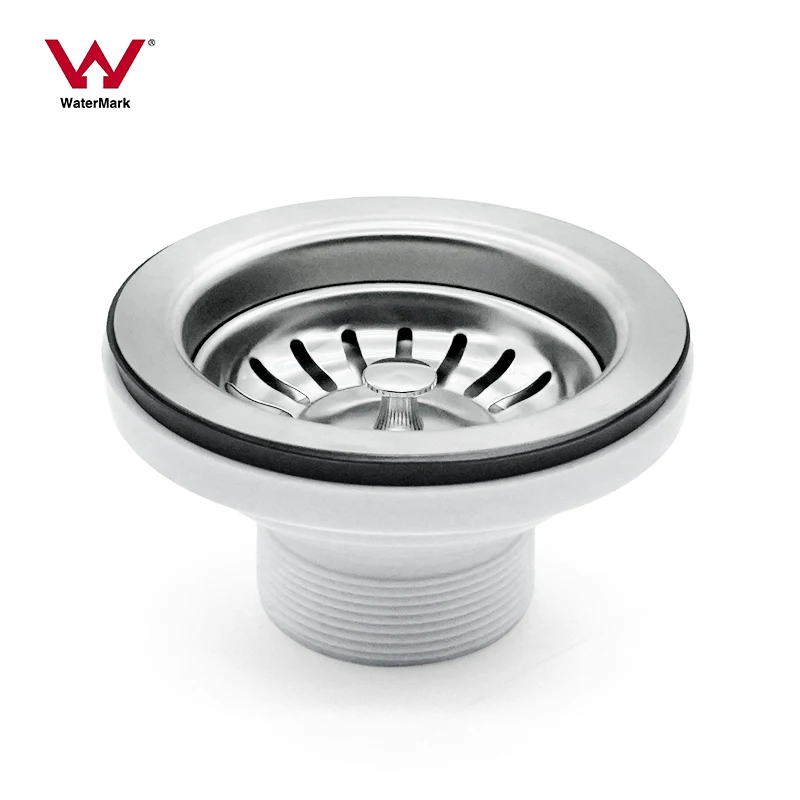
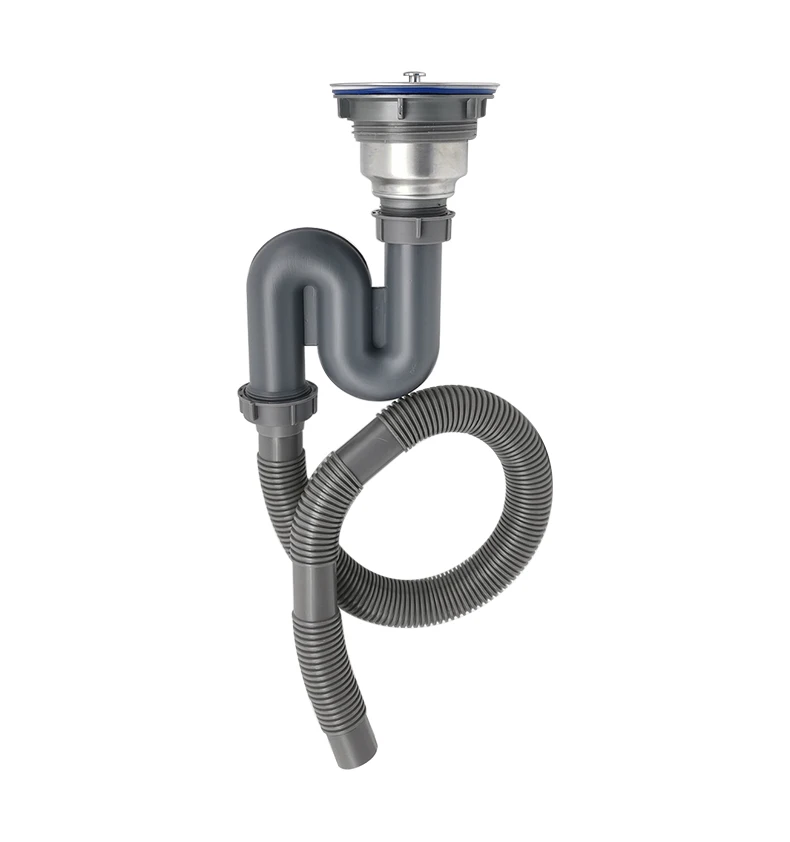
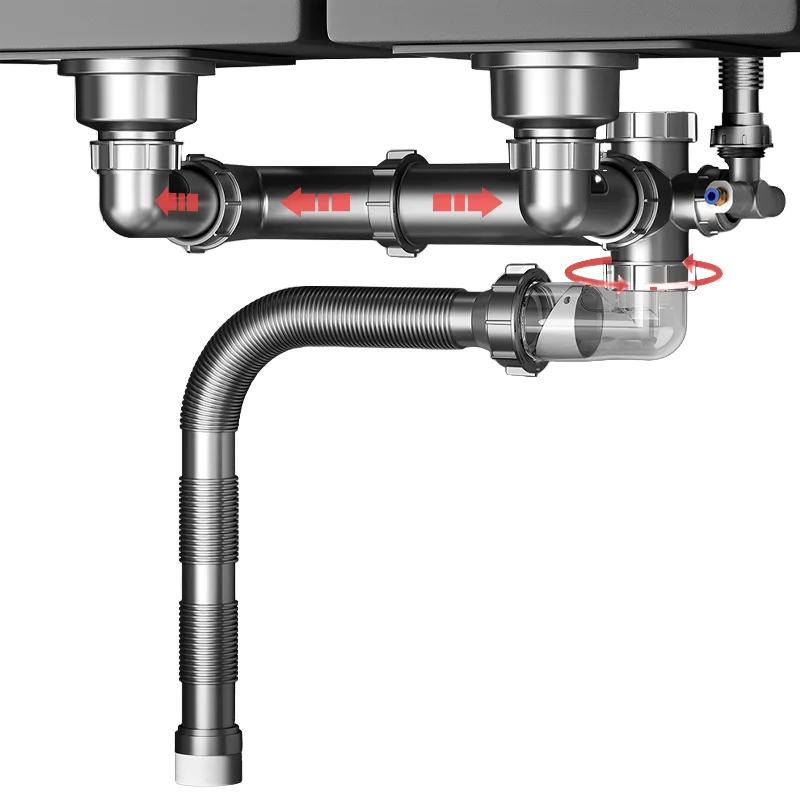
Fit the Strainer: Fit the strainer into the opening of the drain hole. Center it and press it down good.
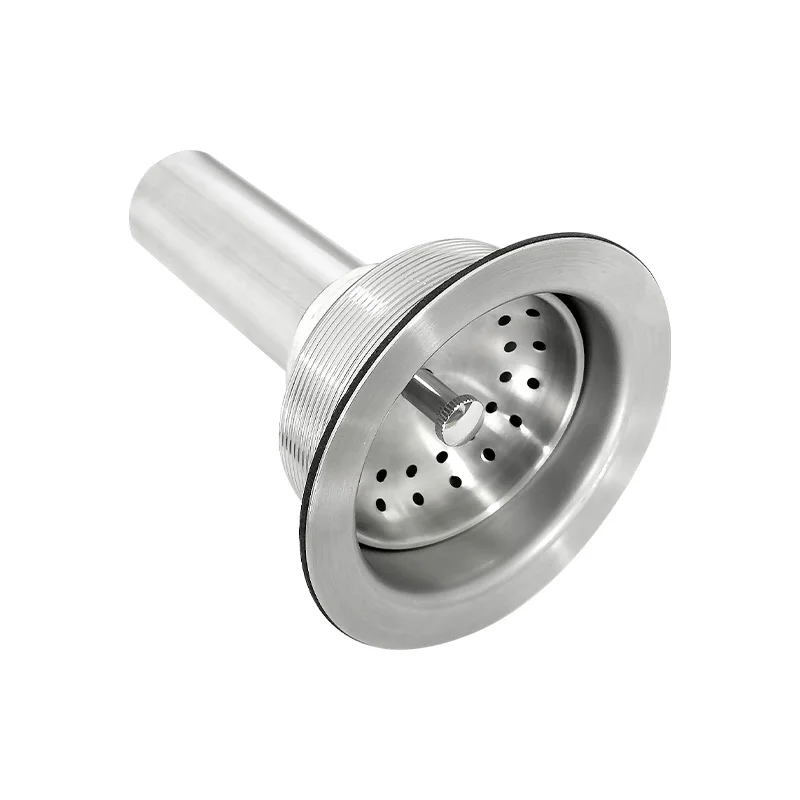
One pitfall to avoid is cinching up the nut under the sink too tight. This can cause too much putty to flow and create a mess. The strainer is held in place by friction, all that’s required is a facing fit.
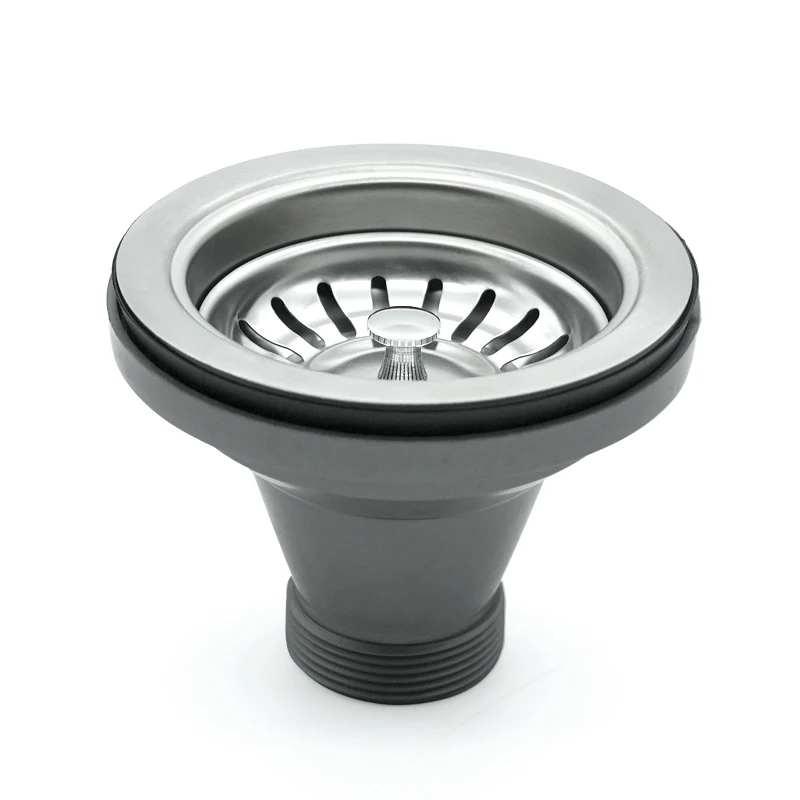
Another mistake is that there's not enough plumber's putty. What you want to create is a thin, uniform lining all around the bottom edge of the strainer that will prevent any leaks.
It is important to have the right tools for an easy installation. You'll need pliers, a wrench, screwdriver, and plumber's putty on hand before you begin. These gadgets will allow you to tighten the strainer well and prevent leaks.
To ensure a good seal when you install a new kitchen sink strainer, use a bit of plumber’s putty around the underside of the strainer before you put in the gasket and locknut. This putty will form a waterproof seal between your strainer and your sink, to prevent any leaks.