Hitri povezave
Ali se že motite zaradi zaklepljenega kuhinjskega umivalca? Morda je čas zamenjati dren! Zamenjava drena kuhinjskega umivalca je poceni in hitra projekta, ki vam bo v dolgotrajnem šparilo denar in nespoštovitve. Tako to deluje v pet enostavnih korakov.
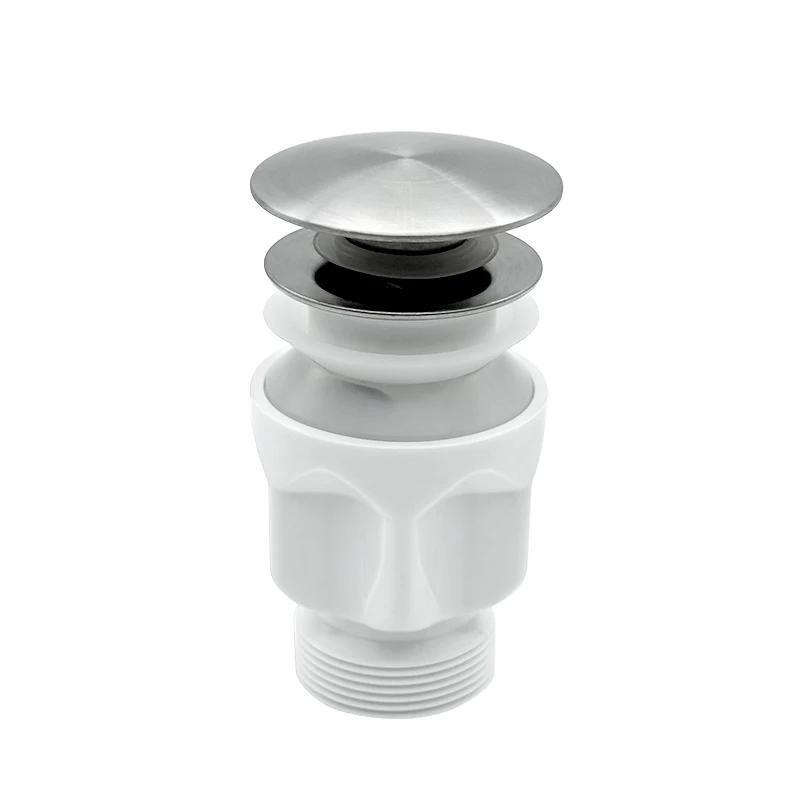
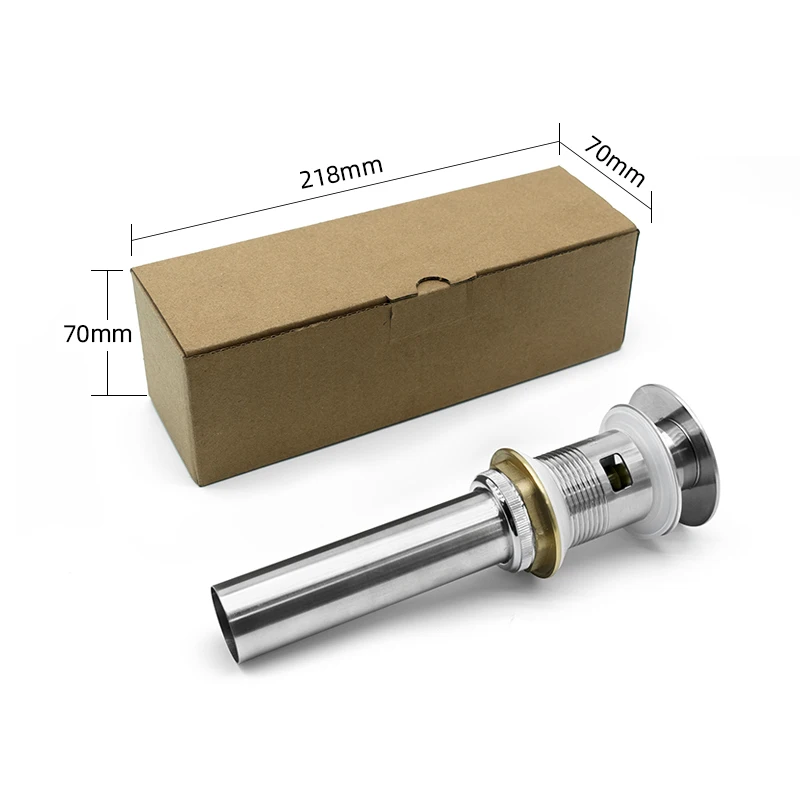
Pustite se organizirati: Preden začnete, zbratite vse, kar boste potrebovali. Potrebujete tudi nov paket drena za umivalec, ključ, škrapelj in svinčni testenin. Paket drena za umivalec je na voljo v vaši lokalni trgovini ali na spletu.
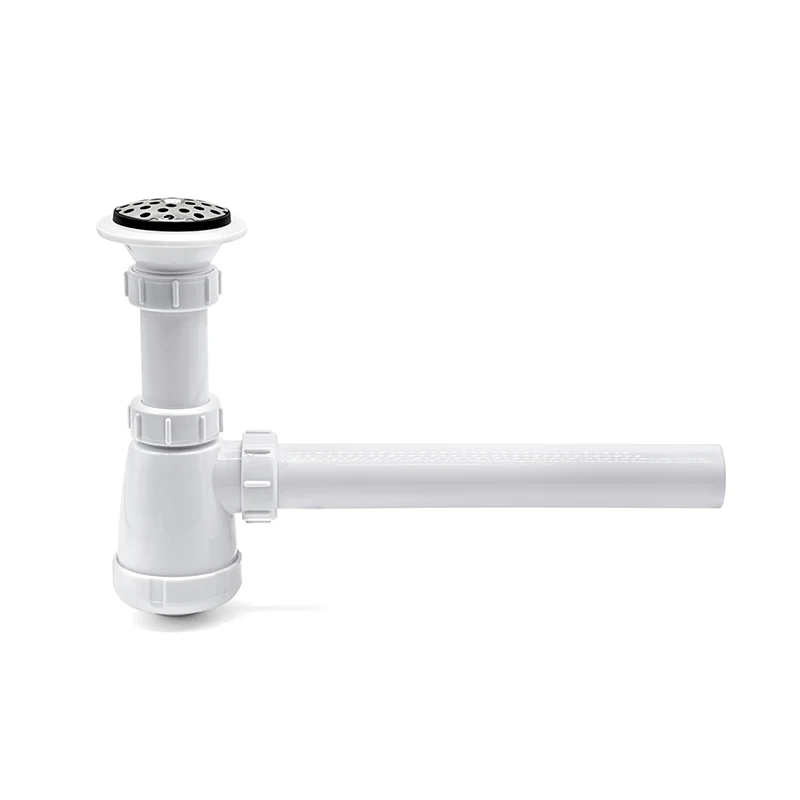
Najprej morate odstraniti stari odvod iz vašega umivača. Pod umivač postavite vedro, da bo hvatalo vodo, ki bo skapala. S ključem odkrnete ploskovno ojijo, ki povezuje odvodno cev z umivačem. Ko bo svoboden, jo lahko odstranite in stran postavite.
Zamenjava odvodne roura v kuhinjskem mitnem je enostaven DIY projekt. Sledite tem preprostim korakom in vaš mitnik bo ponovno popolnoma delujoč. Bodisi ste novi v D.I.Y ali pa izkušeni strokovnjak, je to zelo uporabna znanja.
In s našo navodilo boste lahko to storili enostavno, sedaj ko ste naučili, kako zamenjati odvodni sistem v kopalniškem mitnem v 5 preprostih korakih. Poglejte si to in storite pravilno. Z zelo malo truda bo vaš odvodni sistem v kopalniškem mitnem ponovno kot nov.
Če želite zamenjati odvodni sistem v kopalniškem mitnem, boste naslednje svetovale prikladne za uspešno zaključitev projekta. Uporabite prave orodja in malo strpljenja, da odstranite stari odvodni sistem in namestite nov v zgodbi. Ne bojte se, lahko storite ta projekt sami — boste ponosni!
Če nameščate nov umivalec v kuhinji doma med izvajanjem lastnih popravkov, je tu nekaj stvari, na katere morate biti pozorni. Samo se prepričajte, da ste zbrali vse potrebne pripomoce preden začnete, pomalo počasneje prepotavajte vsako korak in preizkusite, ali obstajajo tečaje po namestitvi nove dreniranja sistema. S temi triki bi morali lahko spremeniti dreniranje vašega kuhinjskega umivalca brez težav in imeti ga pravilno delujoč.